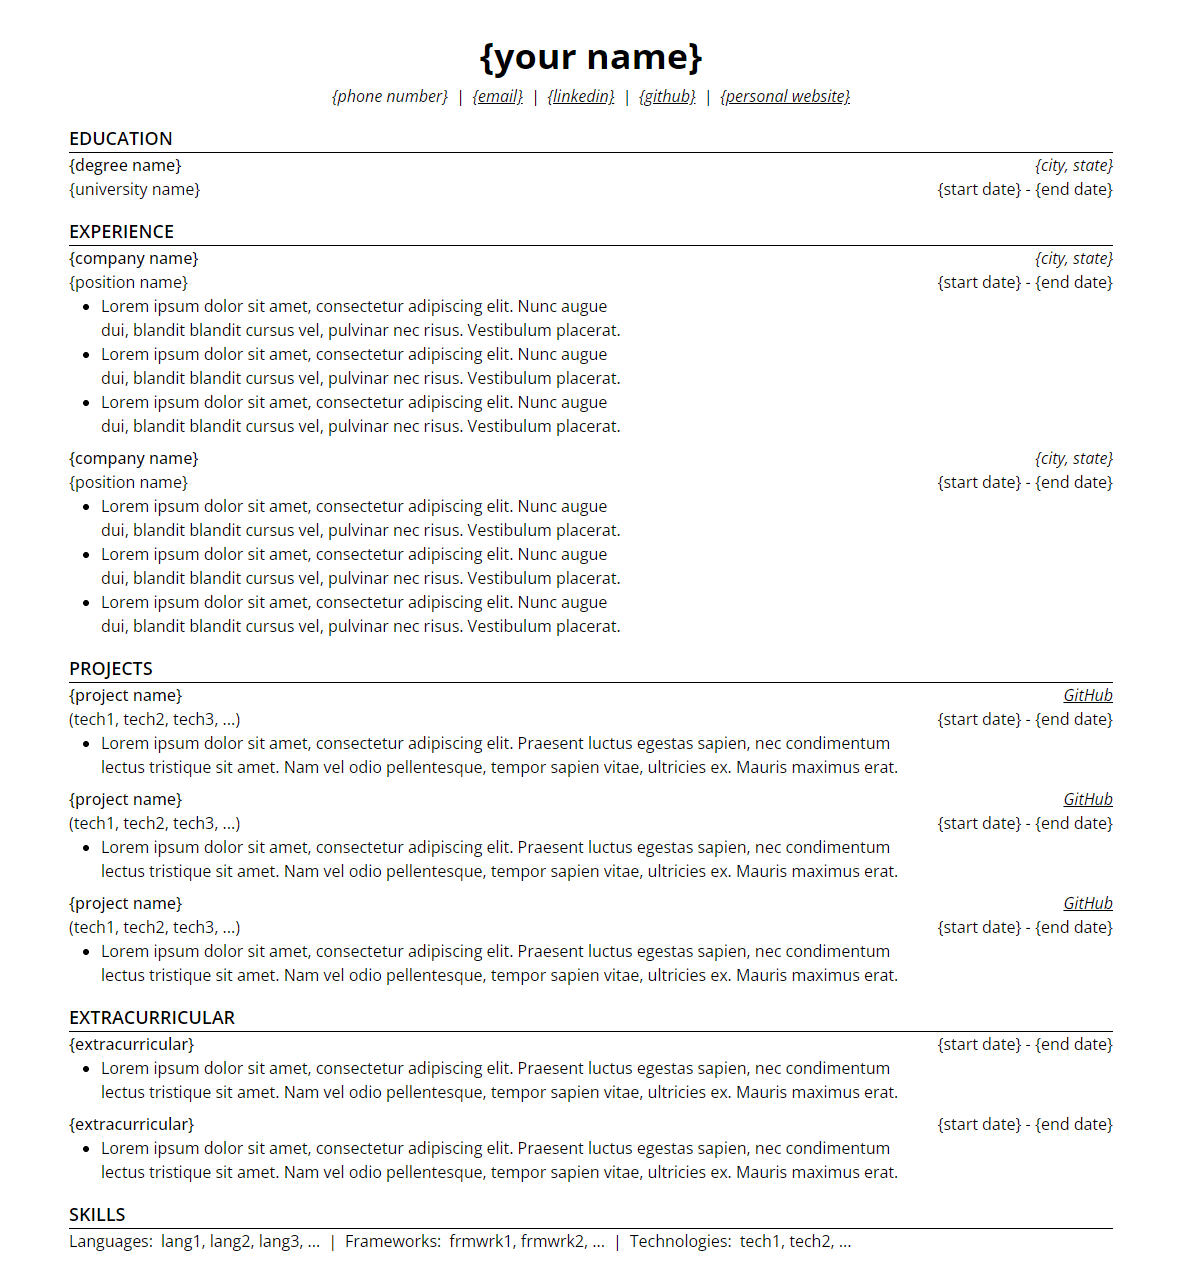
I've been using MS Word to write my resumes for the past three years. It's served me well for the most part, apart from the fact that it tends to hang for some reason every time I export a page to pdf. I also experimented with rewriting my resume in LaTeX (using Overleaf), but it just wasn't a fun time.
When all seemed lost, I turned to the only option that was left, HTML & CSS, the format it was destined to be written in all along.
Truth be told, I didn't just wake up one day with the incessant urge to rewrite my resume in HTML, but I thought this would be a good way to get to know some of the more niche HTML elements and attributes, while also training my CSS muscles. If you're interested to see the full template you can check it out on my GitHub.
Preview

Setup
I'm going to keep this very simple, just a single html file, and two style sheets. The first style sheet is preflight.css, a set of base styles that effectively create a blank canvas, removing majority of default styles. This is something
that's originally used by Tailwind CSS, but I'm not using Tailwind for this project, I just took the relevant CSS styles and applied them for my own use. You can read more about what preflight exactly does on
Tailwind Docs.
For the font, I chose Open Sans, partially because I didn't really want to use a Serif font, since it's so overused. Other than that, I think it looks pretty good.
HTML
For the markup, I tried to keep things as semantic as possible. Starting at the top, we have the following.
<body>
    <main>
        <article class="resume-container">...</article>
    </main>
</body>
This is fairly straight forward so far, the entire page is encapsulated around a main element, and the resume content are wrapped around an article element, since it's an independently distributable
piece of content.
Next is the header, where the name and contact information live.
<header class="resume-header">
    <h1>{your name}</h1>
    <address class="contact-info">
        <a>...</a>
        <a>...</a>
        ...
    </address>
</header>
Usage of header is self-explanatory, but address is where it gets interesting. I didn't actually know this was a thing until I started this project, but we can use address to group
together information that represents either contact details like phone number and email, or a physical address.
What follows is five sections - education, experience, projects etc.
To group together a university name with a degree title, or a job position with a company name, we can use the
hgroup element which represents a heading that's followed by additional context like a subheading or alternate title. It makes sense in this case since a degree name and university are directly
related. Same idea for listing experience and projects.
<hgroup>
    <h3>{degree name}</h3>
    <p>{university name}</p>
</hgroup>
Another semantic HTML element that we can take advantage of here is the time element. This is used to wrap any text that represents a date, such as the start and end times of a job position, or the graduation date.
Furthermore, we can add the datetime attribute to enable translation to a machine-readable time format, which can be any valid date string.
<time datetime="01-2024">Jan 2024</time>
For the Skills sections, I opted for using dl (description list) over a more generic unordered list. Since the skills section is split into three parts - Languages, Frameworks, and Technologies. Each of
these are essentially description terms, which can be placed inside a dt element, and then what follows is the description, such as a list of programming languages.
<dl>
    <dt>Languages:</dt>
    <dd>lang1, lang2, lang3, ...</dd>
    ...
</dl>
CSS
The CSS to make this all look pretty consists of using flexbox everywhere and text-wrap: balance to keep the text neat. There are two interesting things in particular to point out here. As
you may have noticed from the preview, the contact information and skills are separated by vertical bars like this |. I didn't want to have vertical bars just sitting around in the HTML, it didn't feel
right. So instead I opted to create empty span elements, marked with aria-hidden="true" to make sure they're ignored by screen readers, and then used the ::after pseudo-element in CSS to make a vertical bar appear
inside the div.
.contact-info > span::after {
    content: '|';
}
We grab the the span elements that are direct children of the element with the .contact-info class and apply an inline | to it using ::after.
The other interesting thing is how printing works. Normally when you attempt to print a webpage, it doesn't look too good. That's because a digital display like a webpage uses pixels, which is a measure dependent on your screen size, whereas a printer uses a constant measure, and the size of the page is also constant. So when you print the webpage, the styles have to adjust to let's say an A4 page.
Using @media print rules, we can control this behaviour and make the print output look exactly the way we want it to by adjusting the styles to fit the page, while also independently styling the webpage and keeping it responsive.
You'll notice that if you where to print a random webpage, you get header and footers added to the page that have the site name and page numbers. We don't want this for the resume, and a nice trick to get rid of them is the following page at-rule, which only applies to the printed page.
@page {
    size: auto;
    margin: 0;
}
By setting the margin to zero, we eliminate the space that's reserved for those default header and footers.